Backyard Permaculture - The Rain Garden
In a lot of American homes the runoff water from the roof is released through drain spouts onto the surrounding land. On Matt and Beth's property, a part of the roof runoff is released in the backyard, where it pools in depressions in the side yard, very close to the foundation. During strong rainfall large amounts of water accumulate, create erosion and flood the basement. The water that doesn't make it into the basement follows the slope of the hill down towards the neighbouring properties. Eventually, the water finds its way into a street gutter and then into the stormwater drain system, which is often overloaded during heavy storms. The flooding problem is caused by a variety of factors, including climate change and insufficient infrastructure, which you can read about in this City of Madison presentation.
It was important to us that we take responsibility for the water traveling downhill from this property. In an uncertain climate, it is likely that Madison will continue to experience very heavy precipitation events. Preventing these events from causing flooding requires a complex set of soultions not only from city government, but also from private citizens. Our solution? Rain gardens.
A rain garden is a depression in the ground, often planted, that collects water from surrounding higher areas and gives it the chance to soak into the ground instead of running off the surface. By catching and storing the rainwater in their yard, we are reducing Beth and Matt's need to water this part of their landscape during dry periods, as well as lessening flooding further downhill. Using and valuing this renewable resource has helped turn heavy rains from a drainage problem into an asset.
Understanding the importance and benefits of small and local solutions, Wisconsin's Department of Natural Resources (DNR) and the City of Madison provide detailed publications on how to build an effective rain garden as well as native plant lists to help you get started on planting.
While some people choose to seed grass in their rain garden, we chose to use native plants that are adapted to wet soils. A study conducted in Madison by the U.S. Department of the Interior and the U.S. Geological Survey concludes that rain gardens with prairie vegetation have "greater perturbation and soil development", "greater capacity of the prairie-clay rain garden to store and infiltrate stormwater", and "clearly showed greater biological activity of flora and fauna" compared to simply using turf grass. The study determined rain gardens to be a success, absorbing nearly all rain water, when properly designed with a 5:1 (4:1 for clay soil) ratio of roof to rain garden area.
With this background, let's get started!
Our Process
Choosing a Site
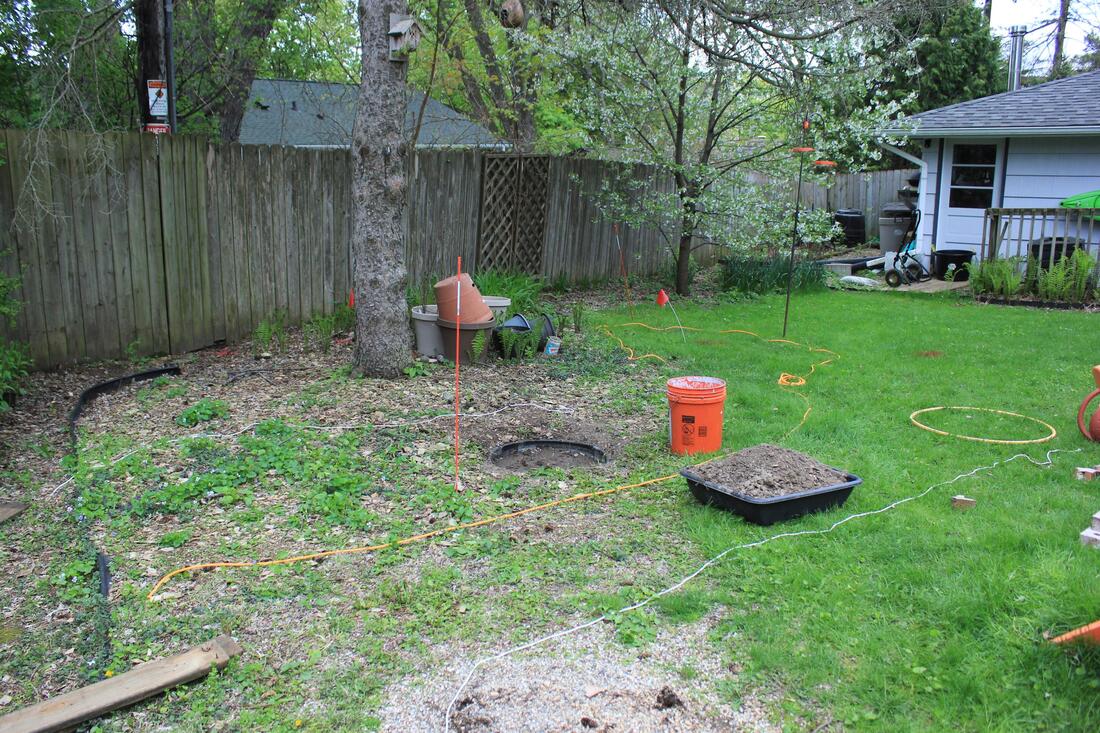
The backyard has a natural downhill slope away from the house. The spots that we chose for the rain gardens were intuitive, but they also fulfilled the design criteria for slope and minimum distance from the house. We began by laying out the potential outline of the rain garden downhill from the house. We tested the soil to determine whether it is appropiate for a rain garden. After digging only a few inches into the ground, it became clear that we were dealing with a heavy clay soil, the worst soil type for a rain garden!
We conducted an infiltration test anyway, following Wisconsin's DNR rain garden standard. Despite the clay soil and thanks to the natural slope of the hill, the infiltration test showed a sufficient penetration rate.
Our only concern left was that we planned to install the rain gardens under the drip line of the old spruce tree. Only digging would reveal how many roots we would encounter.
|
|
Digging and Planting
With the outline of the rain gardens in place, we could start digging. Because we chose to dig the rain gardens partially under the drip lines of three mature trees, we had to be careful not to destroy too many roots. That is why we could not reach our goal depth of 6'' in all areas of the rain gardens.
The inlet of the lower rain garden is connected to the spout of the roof with by a shallow trench. We used drain rock at the inlet and the outlet to reduce erosion. Then we planted native plants, using moisture-tolerant plants in the center where the water pools and less water-tolerant plants on the sides. Because our rain garden is in a shady spot, we used manly woodland plants and refrained from planting sun-loving prairie plants.
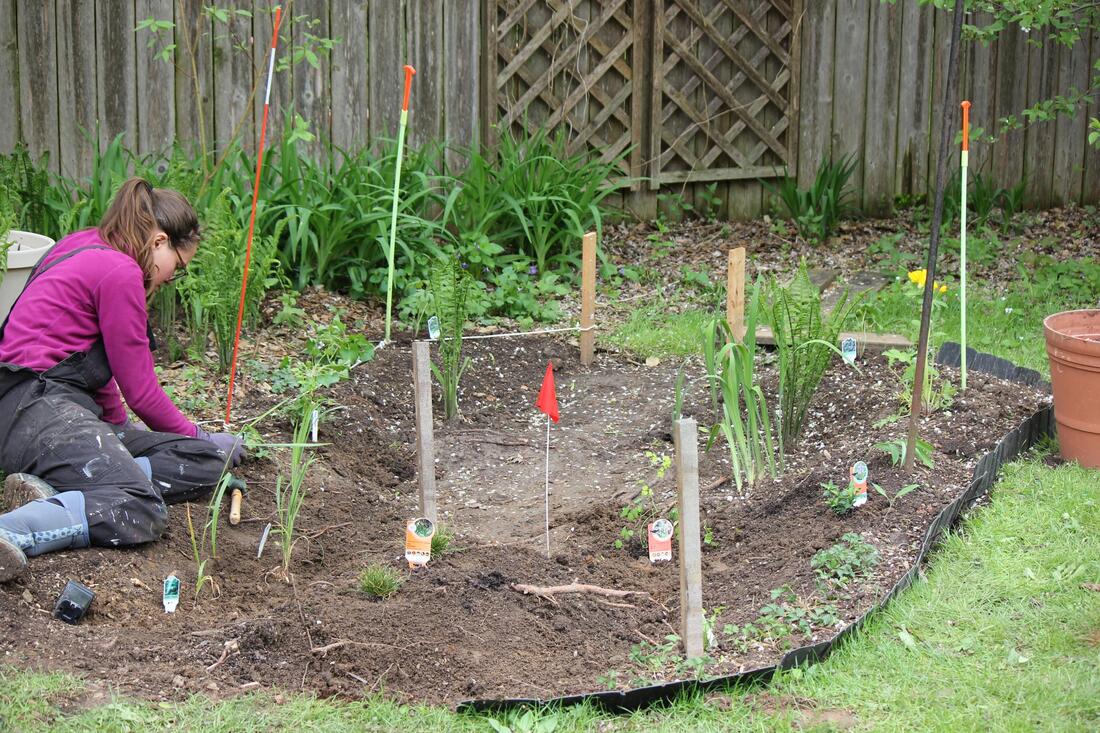
Planting of the rain garden with native plants
|
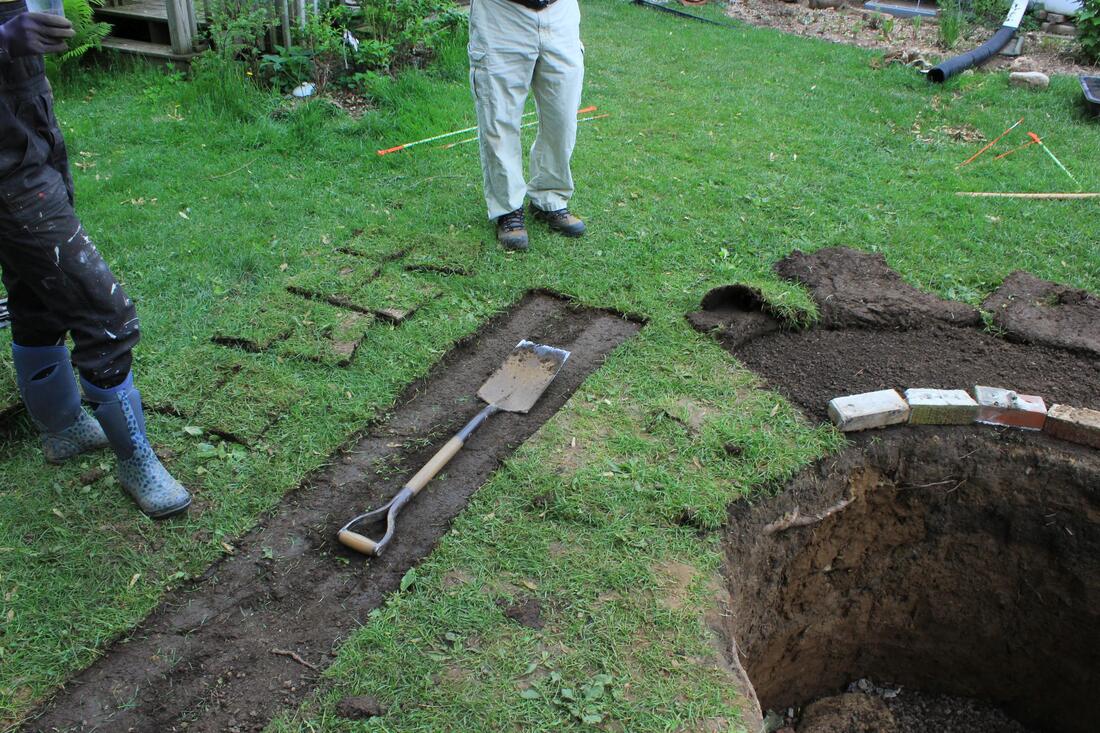
A shallow ditch connects the spout with rain gardens. On the right is the hole for the foundation of the cob oven.
|
The Rain Gardens in Action
We could observe the rain gardens during a couple of 1 inch rain storms. The Inlets and outlets were functioning well. We are happy with the infiltration rate. It will improve further over the years as the plantings mature.
We could observe the rain gardens during a couple of 1 inch rain storms. The Inlets and outlets were functioning well. We are happy with the infiltration rate. It will improve further over the years as the plantings mature.
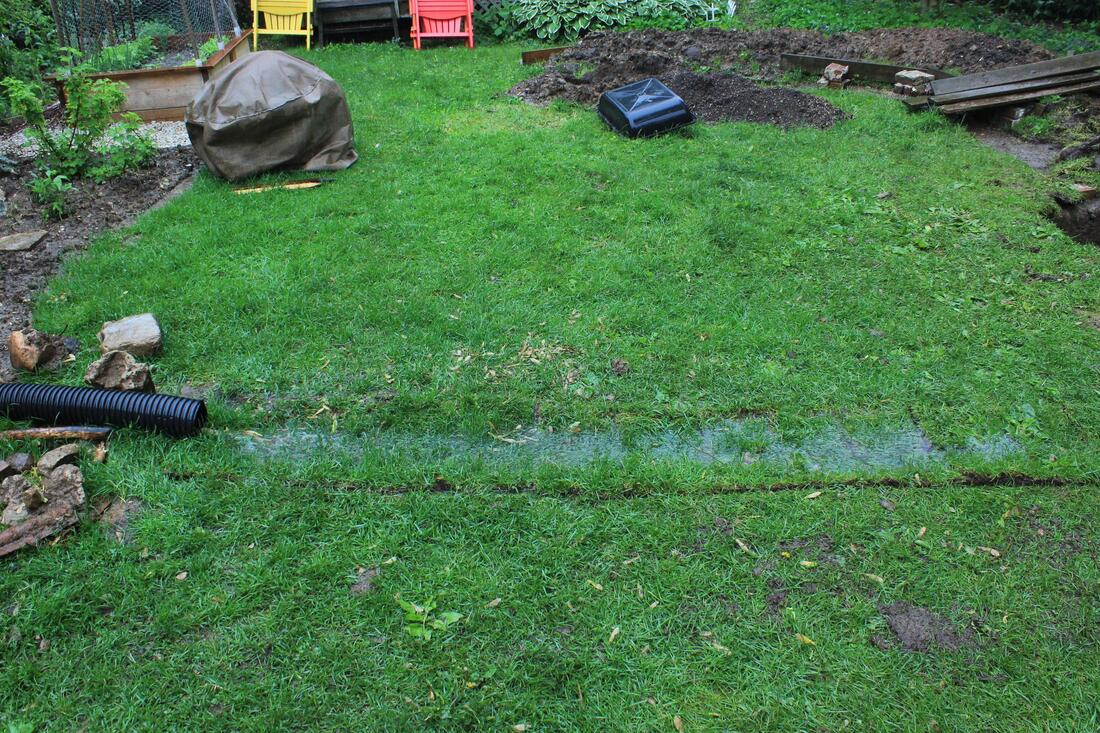
The trench during a shower
|
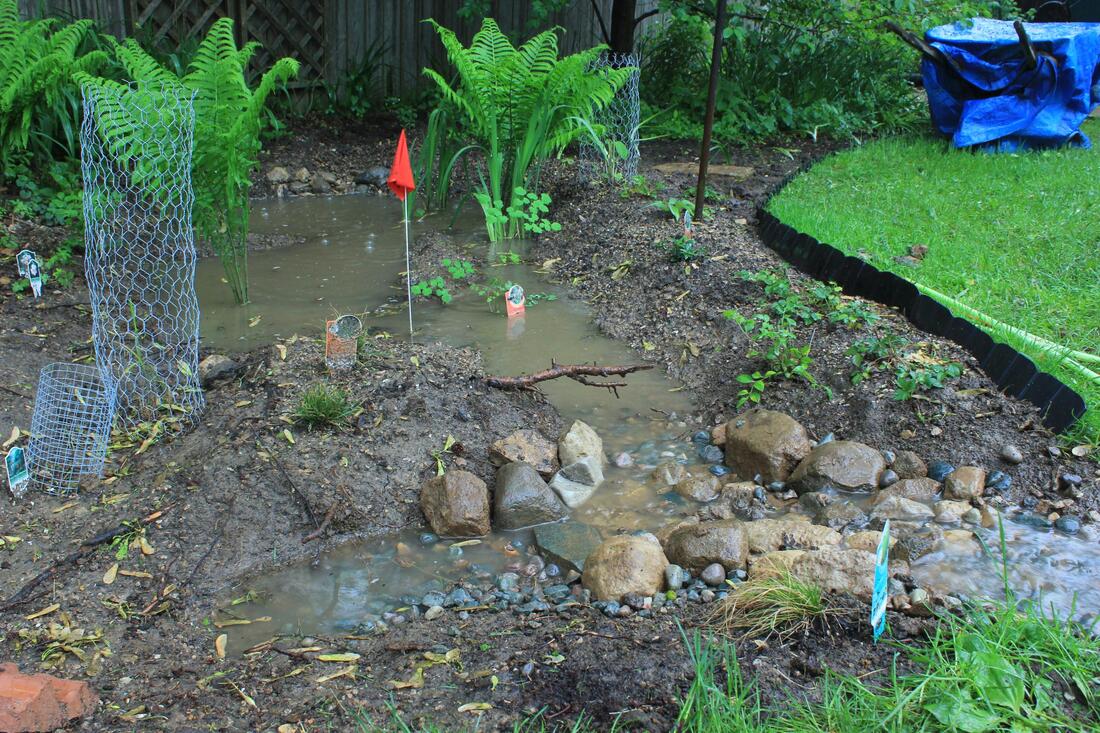
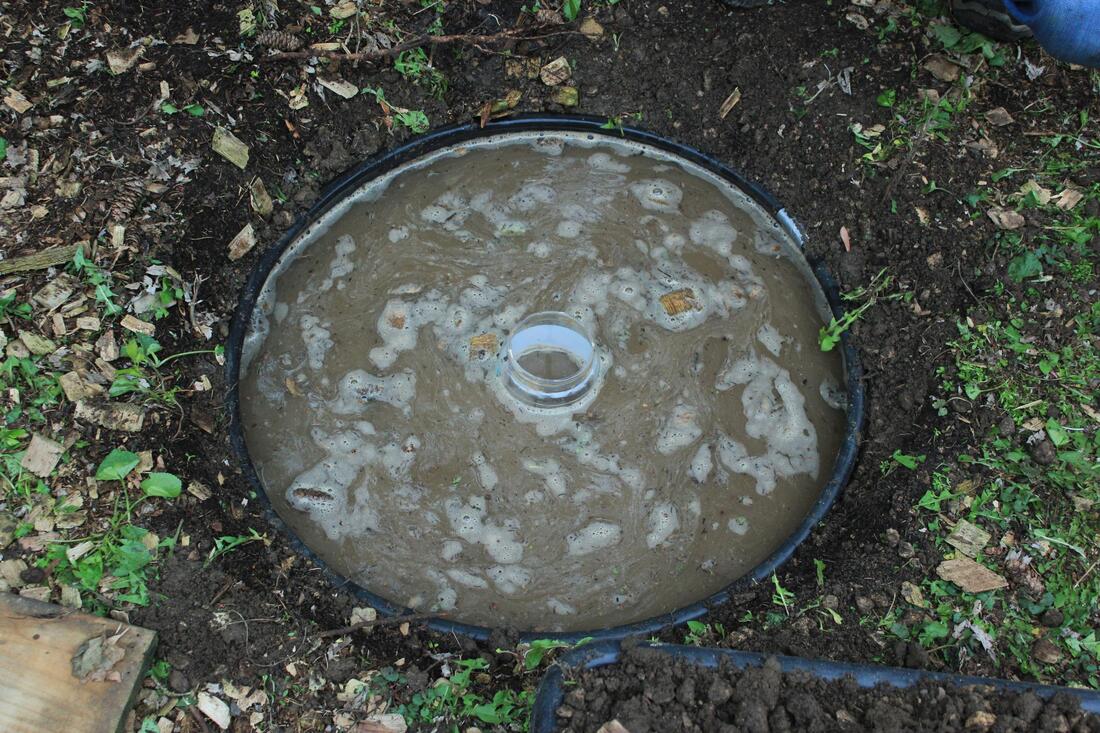
The rain garden filling during a shower
|
